Large, unoptimized images can quietly ruin a classroom presentation—slides take longer to load, animations lag, and sharing files with students becomes frustrating. If you’ve ever struggled with oversized visuals, learning how to optimize images for web can make your teaching materials smoother, faster, and more reliable.
Quick overview
Optimizing images for presentations means reducing file size while keeping visuals sharp. The goal is faster performance, easier sharing, and consistent display across devices—especially important in classrooms with mixed tech setups.
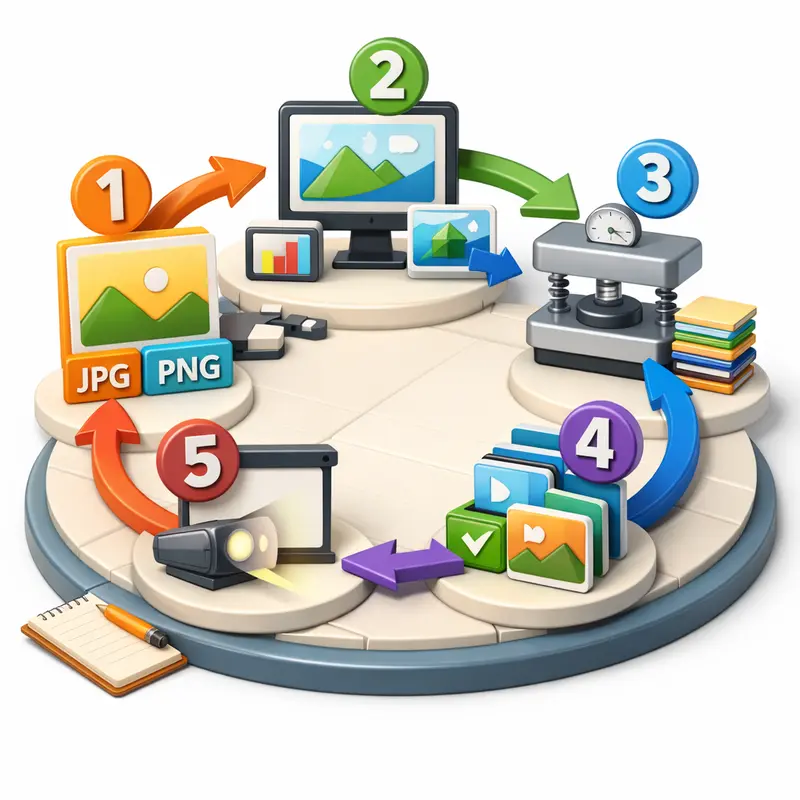
A practical workflow for teachers
Instead of overthinking formats and settings, follow a streamlined approach:
- Choose the right format first
Photos work best as JPG, while diagrams and charts often benefit from PNG or WEBP. - Resize before compressing
A 4000px image rarely needs to be that large for slides. Scale it down to presentation size. - Apply high quality image compression
Use a tool that reduces size without visible degradation. - Batch process multiple files
When preparing an entire lesson deck, a batch image optimizer saves time. - Double-check clarity on projection
What looks sharp on your laptop may appear different on a projector.

A tool that simplifies the process
When working with dozens of images, manual optimization becomes tedious. That’s where a browser-based solution like Filemazing comes in.
Its primary strength is bulk processing—you can upload multiple images and compress them in one go. For teachers handling full lecture decks, this removes repetitive work.
Because it’s entirely browser-based, there’s no installation required. You can open it on a school computer, laptop, or even a shared device without setup friction.
If your presentation starts from documents, you can also convert PDF pages into images and then optimize them in the same workflow.
Real-world test: classroom slide deck
To see how effective this is, I tested a typical teaching scenario:
- 28-slide presentation
- Mixed images: charts (PNG), photos (JPG), scanned diagrams
- Total size before optimization: 96 MB
After running a batch compression:
- Final size: 24 MB
- Visual quality: no noticeable loss on projector
- Load time: significantly improved during slide transitions
Key takeaway: resizing images before compression made the biggest difference—not just compression alone.
Format comparison (JPG vs PNG vs WEBP)
Choosing the right format matters as much as compression itself.
- JPG
Best for photos. Smaller size, but lossy compression. - PNG
Ideal for diagrams, text-heavy visuals, or transparent backgrounds. Larger files. - WEBP
A modern option balancing quality and size. Works well for most presentation scenarios.
If you’re unsure which format to use, a flexible option is to convert between JPG, PNG, WEBP, HEIC, and AVIF formats depending on your slide content.
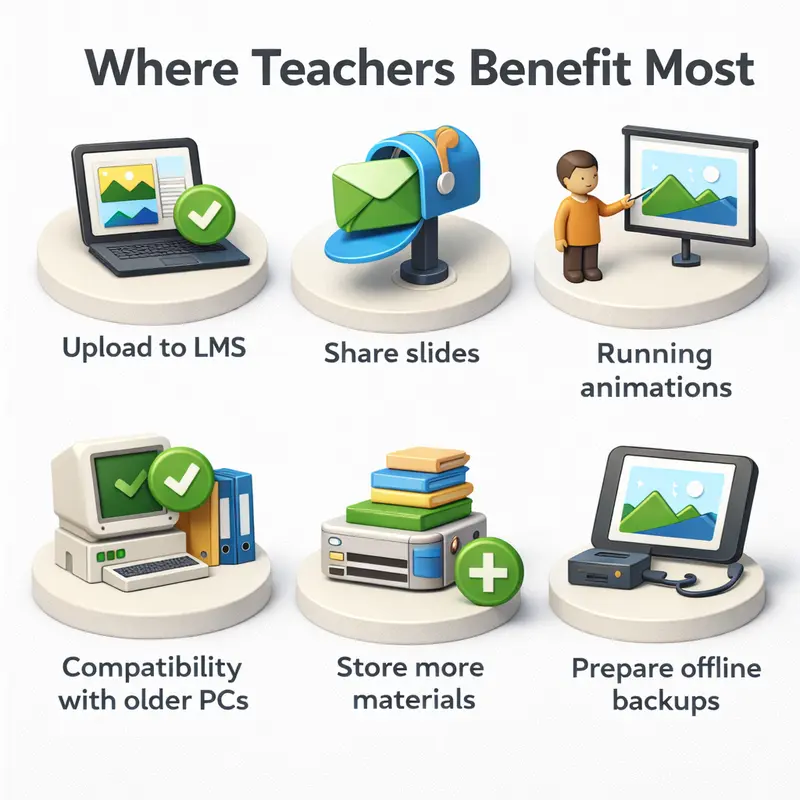
Where teachers benefit most
Optimized images aren’t just about saving space—they improve everyday teaching workflows:
- Uploading presentations to learning platforms without size limits
- Sharing slides via email or classroom apps
- Running smoother animations during lectures
- Avoiding lag on older school computers
- Storing more materials without filling up storage
- Preparing backup versions for offline teaching
What makes this approach effective
- Reduces file size without sacrificing clarity
- Handles multiple images at once
- Works directly in the browser
- No dependency on installed software
- Supports multiple formats for flexibility
FAQ: Teachers and image optimization
Does compression always reduce quality?
Not necessarily. With proper settings, image compression without losing quality is achievable, especially for presentation use.
What’s the best format for slides?
Use JPG for photos, PNG for diagrams, and consider WEBP when compatibility allows.
Is it safe to upload classroom materials?
Yes—Filemazing processes files temporarily and removes them after processing, rather than storing them long-term.
Can I optimize images from PDFs?
Yes. You can first extract visuals using tools that convert PDF pages into images, then compress them.
Should I compress images before or after inserting them into slides?
Before. This prevents bloated presentation files from the start.
Can I secure files after optimization?
If you’re sharing sensitive materials, you can protect compressed files before sharing to keep them secure.
Final thoughts
Optimizing images isn’t just a technical step—it directly affects how smoothly your lessons run. Smaller files mean faster slides, easier sharing, and fewer technical interruptions in class.
If you regularly prepare presentations, using a batch-friendly, browser-based tool can quietly improve your workflow. Instead of wrestling with file sizes at the last minute, you can focus on what matters most—delivering your content clearly.